Organize a Room Painting Plan Before Opening the Tin
Bring measurements, product choices, preparation and room access into one manageable decorating plan.
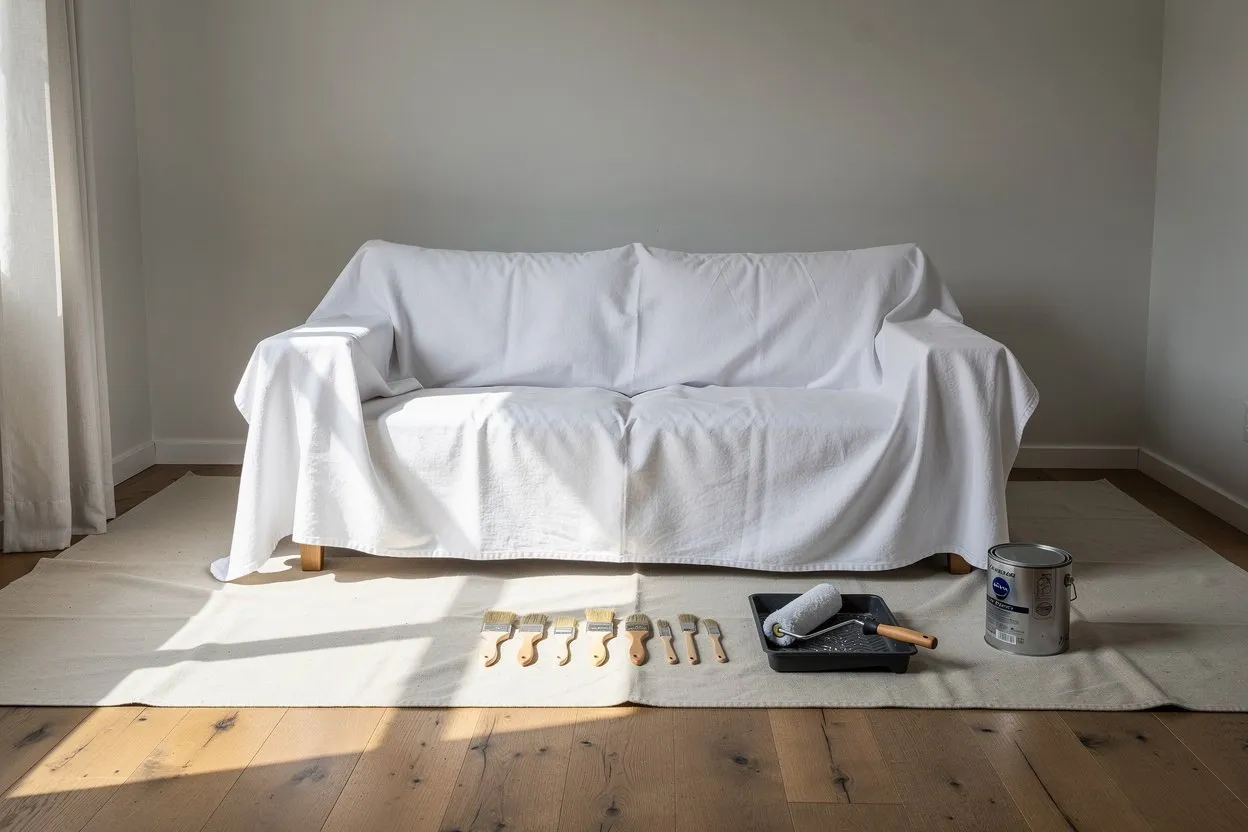
A painting plan is more than a shopping list. It connects the surfaces, products and sequence of work so that the room remains manageable throughout the project. Before opening a container, make sure you know what will be painted, what must be protected and how the room will be used while the work is underway. A short written plan can prevent repeated interruptions.
Define the job in one paragraph
List the included surfaces and any exclusions. For example, you might paint four walls while leaving the ceiling, doors and trim unchanged. Name the color and finish for each included group. This simple definition prevents the job from expanding unnoticed after materials have already been estimated.
Walk around the room and note preparation needs. Existing damage, moisture or unknown coatings may require advice before ordinary decorating can proceed. Keep those issues separate from routine tasks such as moving furniture and protecting nearby surfaces. Do not treat an unresolved problem as another coat of paint in the calculation.
Build the material record
Measure the room and save the inputs in the paint calculator. Record openings, coat count, selected coverage and any allowance. Keep primer and different finishes on separate lines. If you are also planning a wallpaper feature wall, exclude that wall from the paint group only when the final design is confirmed.
Add the tools and protection required by the selected products and the job. Check what you already have before buying duplicates. Match application tools to the product instructions rather than assuming that any roller, brush or cleaning method will work equally well.
Plan access and timing
Decide where furniture will go and how you will reach each surface safely. Keep exits and necessary household routes usable. Follow product instructions for ventilation, handling and drying, and consider how other people or animals will be kept away from the work area as appropriate.
Build the schedule around preparation and recoat times. Do not compress these stages merely to fit a preferred finishing hour. If the room must be available at a certain time, work backward and allow for cleanup and for any required period before normal use.
Create a final pre-start check
Check the product name, finish, color and quantities against the plan. Confirm that the room measurements are current and that all intended surfaces are represented. Protect or remove items according to the work you are actually doing, and keep labels and instructions accessible during the job.
After completion, retain the room record and product details for future touch-ups. Store or dispose of remaining materials according to the label and local requirements rather than improvising a storage method. Note any difference between estimated and actual use, along with the surface and coat count. That record can improve a future estimate, but it should not be treated as a universal coverage rate for a different room or product.